Window Installation 101: Techniques, Trim, and Tools That Make All the Difference
From nail fins to trim extenders, learn the what, when, and why behind the best window installation methods used by pros who know their stuff.

Let’s be honest—most homeowners shopping for windows never ask,
“So, what kind of flange system are you using on this install?”
But here’s the thing:
The method used to install your windows is just as important as the windows themselves.
At Windoor Retro Professionals, we don’t just toss a window into an opening and call it a day. We carefully assess how the window should be installed, based on your home’s framing, exterior cladding (stucco, siding, block, or lap), and overall condition. Using the wrong method can lead to air leaks, water intrusion, or early failure—all things we work hard to avoid.
So in this post, let’s get a little nerdy. We’re unpacking the top installation techniques and materials used in Florida window installs—and why they matter to you.
🔨 1. Nail Fins (a.k.a. Mounting Flanges)
Nail fins are flared edges around the window frame that allow the window to be nailed or screwed directly into the wall framing. They’re often used in new construction or when doing a full stucco cut-out during a retrofit install.
✅ Best for:
- New construction homes
- Full-frame replacements
- Projects where existing stucco or siding will be cut away and patched
💡 Why it matters:
Nail fins help anchor the window securely and create a clean plane for sealing against weather intrusion—but only if integrated with proper flashing and sealants.
💧 2. Back Caulking Flanges
This technique involves applying a continuous bead of high-grade sealant behind the flange or window frame during installation. It’s a critical step that creates an air and water barrier—especially on homes with older or uneven stucco finishes.
✅ Best for:
- Retrofit installs where exterior damage needs to be minimized
- Older homes where gaps may be present
- Wet climates (like... all of Florida)
💡 Bonus Tip:
Not all caulk is created equal. We use polyurethane-based or hybrid sealants designed to stretch with the house without cracking or peeling.
🧽 3. Expanding Window Foam
Low-expansion window foam is injected around the interior perimeter of the window after it's secured in the opening. It improves insulation, air-tightness, and overall energy performance.
✅ Best for:
- Vinyl window installs
- Homes with poor insulation or air drafts
- Soundproofing enhancements
⚠️ Warning:
Cheap, over-expanding foam can bow or distort the window frame. At Windoor, we use low-pressure, window-safe foams for lasting results.
🪟 4. Metal Brake Flashing
Metal brake flashing is used to fabricate custom-fit aluminum trim that wraps around window frames. It provides a finished look while protecting against water infiltration.
✅ Best for:
- Homes with wood siding, soffits, or trim
- Areas needing a watertight wrap and aesthetic finish
- Projects where windows sit proud of the wall surface
🧠 Translation:
When we say we’re “braking trim,” we don’t mean stopping—we’re shaping metal for a cleaner, more weather-resistant install.
🧩 5. RWD Trim Extenders
Sometimes, the window you choose is thicker than your wall depth, or your original window sat deeper in the opening. That’s where RWD Trim Extenders come in.
They help fill the gap between the new window frame and your interior or exterior finishes, ensuring a seamless, clean look without awkward drywall patches or gaps.
✅ Best for:
- Manufactured homes
- Homes with unusual wall depth or offset windows
- Maintaining clean lines inside and out
🔩 6. Retrofit Flush Fin (Z-Bar) Windows
Flush fin (or Z-bar) windows have an outer flange that overlaps the existing frame, making them ideal for installs where you don’t want to disturb stucco or siding.
✅ Best for:
- Homes where preserving the exterior finish is a priority
- Quick installations with minimal demolition
- Stucco homes where cuts would be costly
🔧 Other Installation Enhancements We Use:
- Peel-and-stick flashing membranes around the nailing fin or frame for waterproofing
- Shims to perfectly level and square the window before final fastening
- Stainless steel fasteners for coastal applications to prevent rust
- Sloped sill pans for water drainage at the base of the window
🏡 Why Installation Technique Matters
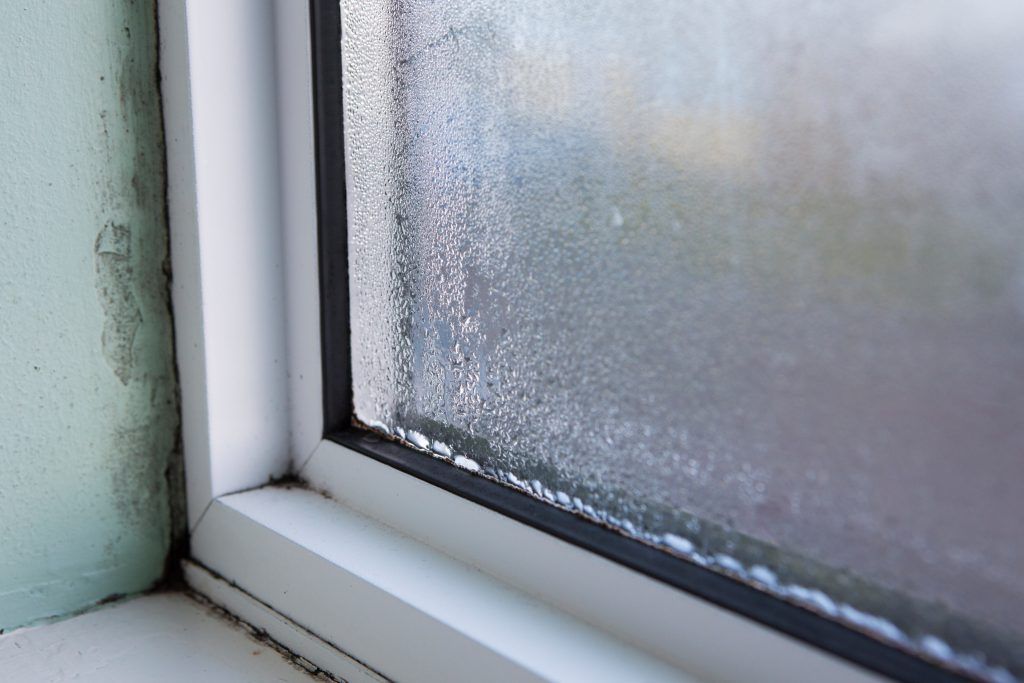
Choosing the wrong technique—or skipping the critical steps—can lead to:
- Leaks and mold
- Failed inspections
- Voided warranties
- Expensive repairs or reinstallations
Even the best window on the market can fail if installed improperly.
At Windoor Retro Professionals, our installation decisions are based on the home, not on how fast we can finish the job. We assess your structure, climate zone, and finish materials before recommending the best method for a long-lasting install.
🧠 Final Thoughts from Joe
Window installation is more than a plug-and-play process—it’s a construction science. And in Florida, where we deal with rain, heat, hurricanes, and salty air, the installation method can be the difference between peace of mind and future headaches.
If you're not sure how your windows were installed—or you're planning to upgrade—don’t settle for guesswork.
📞 Call Windoor Retro Professionals today, and we’ll help you understand the right install method for your home and ensure it’s done to perfection.


